Bootstrap Navbar Working
Introduction
Despite of how complex and thought-out site organization we create, it does not matter a great deal if our people do not provide the visitor a convenient and user friendly way accessing it and getting to the specific webpage required fast and having least energy and efforts despite of the screen size of the gadget displaying the web-site. In Bootstrap 4 it's really simple to include a flexible Bootstrap Navbar Dropdown wrapping the navigation structure fast and easy with minimal code. When it comes to flexible behavior, the navbar can be set up to collapse under a particular screen size and a screen horizontal above it looks and user experience. Here is how: Listed here is precisely how:
Effective ways to make use of the Bootstrap Navbar Toggle:
Here is actually what you require to realize just before starting along with the navbar:
- Navbars require a covering
.navbar.navbar-toggleable-*- Navbars and their materials are certainly flexible by default. Use extra containers to limit their horizontal size.
- Navbars and their items are developed by using flexbox, supplying easy alignment options with utility classes.
- Navbars are definitely responsive by default, however you have the ability to easily customize them to improve that. Responsive behavior baseds on Collapse JavaScript plugin.
- Provide ease of access by employing a
<nav><div>role="navigation"Initially we require a
<nav>. navbar.navbar-fixed-top.navbar-fixed-bottom.navbar-dark, .navbar-light.bg-info, .bg-successdesign =" background-color: ~ your shade ~"bg-*<nav>If you need the navbar to collapse at a specified screen width here also is the place to use a button element with the classes
.navbar-toggler.hidden- ~ the final sizing you would want the navbar presented inline ~ -uptype="button" data-toggle="collapse"data-target="# ~ the ID of the element keeping the actual navbar content ~"Statin details this way the next step in designing the navbar is creating a
<div>.collapse.navbar-toggleable- ~ the largest screen size where you wish it be hidden ~.navbar-toggleable-smAnother detail to keep in mind
A detail to keep in mind is that in the fresh Bootstrap 4 framework the methods of choicing the alignment of the navbar components has been transformed a little in order various looks to be possibly assigned to various screen sizes.
You may eventually choose to include a basic form feature in your navbar-- usually right after the
.nav.form-inline.navbar-formContinue reading for an instance and list of supported sub-components.
As an examples
Provided information
Navbars appeared with built-in support for a selection of sub-components. Pick from the following just as needed to have:
.navbar-brand.navbar-nav.navbar-toggler.form-inline.navbar-text.collapse.navbar-collapseHere's an instance of all the sub-components incorporated throughout a responsive light-themed navbar which promptly collapses at the
md
<nav class="navbar navbar-toggleable-md navbar-light bg-faded">
  <button class="navbar-toggler navbar-toggler-right" type="button" data-toggle="collapse" data-target="#navbarSupportedContent" aria-controls="navbarSupportedContent" aria-expanded="false" aria-label="Toggle navigation">
    <span class="navbar-toggler-icon"></span>
  </button>
  <a class="navbar-brand" href="#">Navbar</a>

  <div class="collapse navbar-collapse" id="navbarSupportedContent">
    <ul class="navbar-nav mr-auto">
      <li class="nav-item active">
        <a class="nav-link" href="#">Home <span class="sr-only">(current)</span></a>
      </li>
      <li class="nav-item">
        <a class="nav-link" href="#">Link</a>
      </li>
      <li class="nav-item">
        <a class="nav-link disabled" href="#">Disabled</a>
      </li>
    </ul>
    <form class="form-inline my-2 my-lg-0">
      <input class="form-control mr-sm-2" type="text" placeholder="Search">
      <button class="btn btn-outline-success my-2 my-sm-0" type="submit">Search</button>
    </form>
  </div>
</nav>
Label
The
.navbar-brand
<!-- As a link -->
<nav class="navbar navbar-light bg-faded">
  <a class="navbar-brand" href="#">Navbar</a>
</nav>

<!-- As a heading -->
<nav class="navbar navbar-light bg-faded">
  <h1 class="navbar-brand mb-0">Navbar</h1>
</nav>
Including images to the
.navbar-brand
<!-- Just an image -->
<nav class="navbar navbar-light bg-faded">
  <a class="navbar-brand" href="#">
    <div class="img"><img src="/assets/brand/bootstrap-solid.svg" width="30" height="30" alt=""></div>
  </a>
</nav>
<!-- Image and text -->
<nav class="navbar navbar-light bg-faded">
  <a class="navbar-brand" href="#">
    <div class="img"><img src="/assets/brand/bootstrap-solid.svg" width="30" height="30" class="d-inline-block align-top" alt=""></div>
    Bootstrap
  </a>
</nav>
Nav
Navbar site navigation urls improve
.navActive states-- with
.active.nav-link.nav-item
<nav class="navbar navbar-toggleable-md navbar-light bg-faded">
  <button class="navbar-toggler navbar-toggler-right" type="button" data-toggle="collapse" data-target="#navbarNav" aria-controls="navbarNav" aria-expanded="false" aria-label="Toggle navigation">
    <span class="navbar-toggler-icon"></span>
  </button>
  <a class="navbar-brand" href="#">Navbar</a>
  <div class="collapse navbar-collapse" id="navbarNav">
    <ul class="navbar-nav">
      <li class="nav-item active">
        <a class="nav-link" href="#">Home <span class="sr-only">(current)</span></a>
      </li>
      <li class="nav-item">
        <a class="nav-link" href="#">Features</a>
      </li>
      <li class="nav-item">
        <a class="nav-link" href="#">Pricing</a>
      </li>
      <li class="nav-item">
        <a class="nav-link disabled" href="#">Disabled</a>
      </li>
    </ul>
  </div>
</nav>
And considering that we work with classes for our navs, you have the ability to avoid the list-based solution entirely if you prefer.

<nav class="navbar navbar-toggleable-md navbar-light bg-faded">
  <button class="navbar-toggler navbar-toggler-right" type="button" data-toggle="collapse" data-target="#navbarNavAltMarkup" aria-controls="navbarNavAltMarkup" aria-expanded="false" aria-label="Toggle navigation">
    <span class="navbar-toggler-icon"></span>
  </button>
  <a class="navbar-brand" href="#">Navbar</a>
  <div class="collapse navbar-collapse" id="navbarNavAltMarkup">
    <div class="navbar-nav">
      <a class="nav-item nav-link active" href="#">Home <span class="sr-only">(current)</span></a>
      <a class="nav-item nav-link" href="#">Features</a>
      <a class="nav-item nav-link" href="#">Pricing</a>
      <a class="nav-item nav-link disabled" href="#">Disabled</a>
    </div>
  </div>
</nav>
You can additionally use dropdowns in your navbar nav. Dropdown menus demand a covering element for setting, in this way make sure to use individual and nested components for
.nav-item.nav-link
<nav class="navbar navbar-toggleable-md navbar-light bg-faded">
  <button class="navbar-toggler navbar-toggler-right" type="button" data-toggle="collapse" data-target="#navbarNavDropdown" aria-controls="navbarNavDropdown" aria-expanded="false" aria-label="Toggle navigation">
    <span class="navbar-toggler-icon"></span>
  </button>
  <a class="navbar-brand" href="#">Navbar</a>
  <div class="collapse navbar-collapse" id="navbarNavDropdown">
    <ul class="navbar-nav">
      <li class="nav-item active">
        <a class="nav-link" href="#">Home <span class="sr-only">(current)</span></a>
      </li>
      <li class="nav-item">
        <a class="nav-link" href="#">Features</a>
      </li>
      <li class="nav-item">
        <a class="nav-link" href="#">Pricing</a>
      </li>
      <li class="nav-item dropdown">
        <a class="nav-link dropdown-toggle" href="http://example.com" id="navbarDropdownMenuLink" data-toggle="dropdown" aria-haspopup="true" aria-expanded="false">
          Dropdown link
        </a>
        <div class="dropdown-menu" aria-labelledby="navbarDropdownMenuLink">
          <a class="dropdown-item" href="#">Action</a>
          <a class="dropdown-item" href="#">Another action</a>
          <a class="dropdown-item" href="#">Something else here</a>
        </div>
      </li>
    </ul>
  </div>
</nav>
Forms
Put numerous form controls and components inside a navbar through
.form-inline
<nav class="navbar navbar-light bg-faded">
  <form class="form-inline">
    <input class="form-control mr-sm-2" type="text" placeholder="Search">
    <button class="btn btn-outline-success my-2 my-sm-0" type="submit">Search</button>
  </form>
</nav>
Fix the contents of your inline forms with utilities as required.

<nav class="navbar navbar-light bg-faded justify-content-between">
  <a class="navbar-brand">Navbar</a>
  <form class="form-inline">
    <input class="form-control mr-sm-2" type="text" placeholder="Search">
    <button class="btn btn-outline-success my-2 my-sm-0" type="submit">Search</button>
  </form>
</nav>
Input groups operate, too:

<nav class="navbar navbar-light bg-faded">
  <form class="form-inline">
    <div class="input-group">
      <span class="input-group-addon" id="basic-addon1">@</span>
      <input type="text" class="form-control" placeholder="Username" aria-describedby="basic-addon1">
    </div>
  </form>
</nav>
Various buttons are supported just as component of these navbar forms, as well. This is additionally a fantastic pointer that vertical positioning utilities may be used to align various sized components.

<nav class="navbar navbar-light bg-faded">
  <form class="form-inline">
    <button class="btn btn-outline-success" type="button">Main button</button>
    <button class="btn btn-sm align-middle btn-outline-secondary" type="button">Smaller button</button>
  </form>
</nav>
Text message
Navbars may possibly provide bits of text using
.navbar-text
<nav class="navbar navbar-light bg-faded">
  <span class="navbar-text">
    Navbar text with an inline element
  </span>
</nav>
Combine and matchup with various other components and utilities like required.

<nav class="navbar navbar-toggleable-md navbar-light bg-faded">
  <button class="navbar-toggler navbar-toggler-right" type="button" data-toggle="collapse" data-target="#navbarText" aria-controls="navbarText" aria-expanded="false" aria-label="Toggle navigation">
    <span class="navbar-toggler-icon"></span>
  </button>
  <a class="navbar-brand" href="#">Navbar w/ text</a>
  <div class="collapse navbar-collapse" id="navbarText">
    <ul class="navbar-nav mr-auto">
      <li class="nav-item active">
        <a class="nav-link" href="#">Home <span class="sr-only">(current)</span></a>
      </li>
      <li class="nav-item">
        <a class="nav-link" href="#">Features</a>
      </li>
      <li class="nav-item">
        <a class="nav-link" href="#">Pricing</a>
      </li>
    </ul>
    <span class="navbar-text">
      Navbar text with an inline element
    </span>
  </div>
</nav>
Color schemes
Theming the navbar has never ever been really easier as a result of the merger of theming classes and
background-color.navbar-light.navbar-inverse.bg-*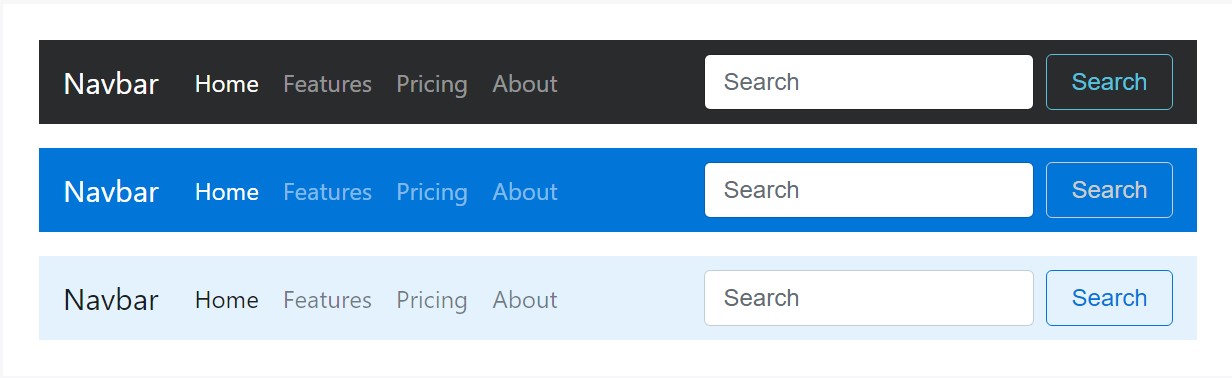
<nav class="navbar navbar-inverse bg-inverse">
  <!-- Navbar content -->
</nav>

<nav class="navbar navbar-inverse bg-primary">
  <!-- Navbar content -->
</nav>

<nav class="navbar navbar-light" style="background-color: #e3f2fd;">
  <!-- Navbar content -->
</nav>
Containers
Regardless of the fact that it is actually not demanded, you can easily cover a navbar in a
.container
<div class="container">
  <nav class="navbar navbar-toggleable-md navbar-light bg-faded">
    <a class="navbar-brand" href="#">Navbar</a>
  </nav>
</div>
As the container is inside of your navbar, its horizontal padding is extracted at breakpoints below your specified
.navbar-toggleable-*
<nav class="navbar navbar-toggleable-md navbar-light bg-faded">
  <div class="container">
    <a class="navbar-brand" href="#">Navbar</a>
  </div>
</nav>
Arrangement
Apply position utilities to install navbars within non-static places. Select from set to the top, attached to the bottom, or else stickied to the top . Notice that
position: sticky.sticky-top
<nav class="navbar navbar-light bg-faded">
  <a class="navbar-brand" href="#">Full width</a>
</nav>
<nav class="navbar fixed-top navbar-light bg-faded">
  <a class="navbar-brand" href="#">Fixed top</a>
</nav>
<nav class="navbar fixed-bottom navbar-light bg-faded">
  <a class="navbar-brand" href="#">Fixed bottom</a>
</nav>
<nav class="navbar sticky-top navbar-light bg-faded">
  <a class="navbar-brand" href="#">Sticky top</a>
</nav>
Responsive behaviors
Navbars can surely incorporate
.navbar-toggler.navbar-collapse.navbar-toggleable-*Toggler
Navbar togglers can be left or right adjusted using
.navbar-toggler-left.navbar-toggler-rightWithout
.navbar-brand
<nav class="navbar navbar-toggleable-md navbar-light bg-faded">
  <button class="navbar-toggler" type="button" data-toggle="collapse" data-target="#navbarTogglerDemo01" aria-controls="navbarTogglerDemo01" aria-expanded="false" aria-label="Toggle navigation">
    <span class="navbar-toggler-icon"></span>
  </button>
  <div class="collapse navbar-collapse" id="navbarTogglerDemo01">
    <a class="navbar-brand" href="#">Hidden brand</a>
    <ul class="navbar-nav mr-auto mt-2 mt-lg-0">
      <li class="nav-item active">
        <a class="nav-link" href="#">Home <span class="sr-only">(current)</span></a>
      </li>
      <li class="nav-item">
        <a class="nav-link" href="#">Link</a>
      </li>
      <li class="nav-item">
        <a class="nav-link disabled" href="#">Disabled</a>
      </li>
    </ul>
    <form class="form-inline my-2 my-lg-0">
      <input class="form-control mr-sm-2" type="text" placeholder="Search">
      <button class="btn btn-outline-success my-2 my-sm-0" type="submit">Search</button>
    </form>
  </div>
</nav>
With a brand name displayed on the left and toggler on the right:

<nav class="navbar navbar-toggleable-md navbar-light bg-faded">
  <button class="navbar-toggler navbar-toggler-right" type="button" data-toggle="collapse" data-target="#navbarTogglerDemo02" aria-controls="navbarTogglerDemo02" aria-expanded="false" aria-label="Toggle navigation">
    <span class="navbar-toggler-icon"></span>
  </button>
  <a class="navbar-brand" href="#">Navbar</a>

  <div class="collapse navbar-collapse" id="navbarTogglerDemo02">
    <ul class="navbar-nav mr-auto mt-2 mt-md-0">
      <li class="nav-item active">
        <a class="nav-link" href="#">Home <span class="sr-only">(current)</span></a>
      </li>
      <li class="nav-item">
        <a class="nav-link" href="#">Link</a>
      </li>
      <li class="nav-item">
        <a class="nav-link disabled" href="#">Disabled</a>
      </li>
    </ul>
    <form class="form-inline my-2 my-lg-0">
      <input class="form-control mr-sm-2" type="text" placeholder="Search">
      <button class="btn btn-outline-success my-2 my-sm-0" type="submit">Search</button>
    </form>
  </div>
</nav>
Alternative content
In certain cases you want to apply the collapse plugin in order to activate hidden content elsewhere on the web page. Simply because plugin works on the
iddata-target
<div class="pos-f-t">
  <div class="collapse" id="navbarToggleExternalContent">
    <div class="bg-inverse p-4">
      <h4 class="text-white">Collapsed content</h4>
      <span class="text-muted">Toggleable via the navbar brand.</span>
    </div>
  </div>
  <nav class="navbar navbar-inverse bg-inverse">
    <button class="navbar-toggler" type="button" data-toggle="collapse" data-target="#navbarToggleExternalContent" aria-controls="navbarToggleExternalContent" aria-expanded="false" aria-label="Toggle navigation">
      <span class="navbar-toggler-icon"></span>
    </button>
  </nav>
</div>
Conclusions
Thus essentially these are the way a navbar should be constructed in Bootstrap 4 and the new neat changes arriving with the latest version. What's left for you is thinking of as cool page system and content.
Check out several video tutorials regarding Bootstrap Navbar:
Related topics:
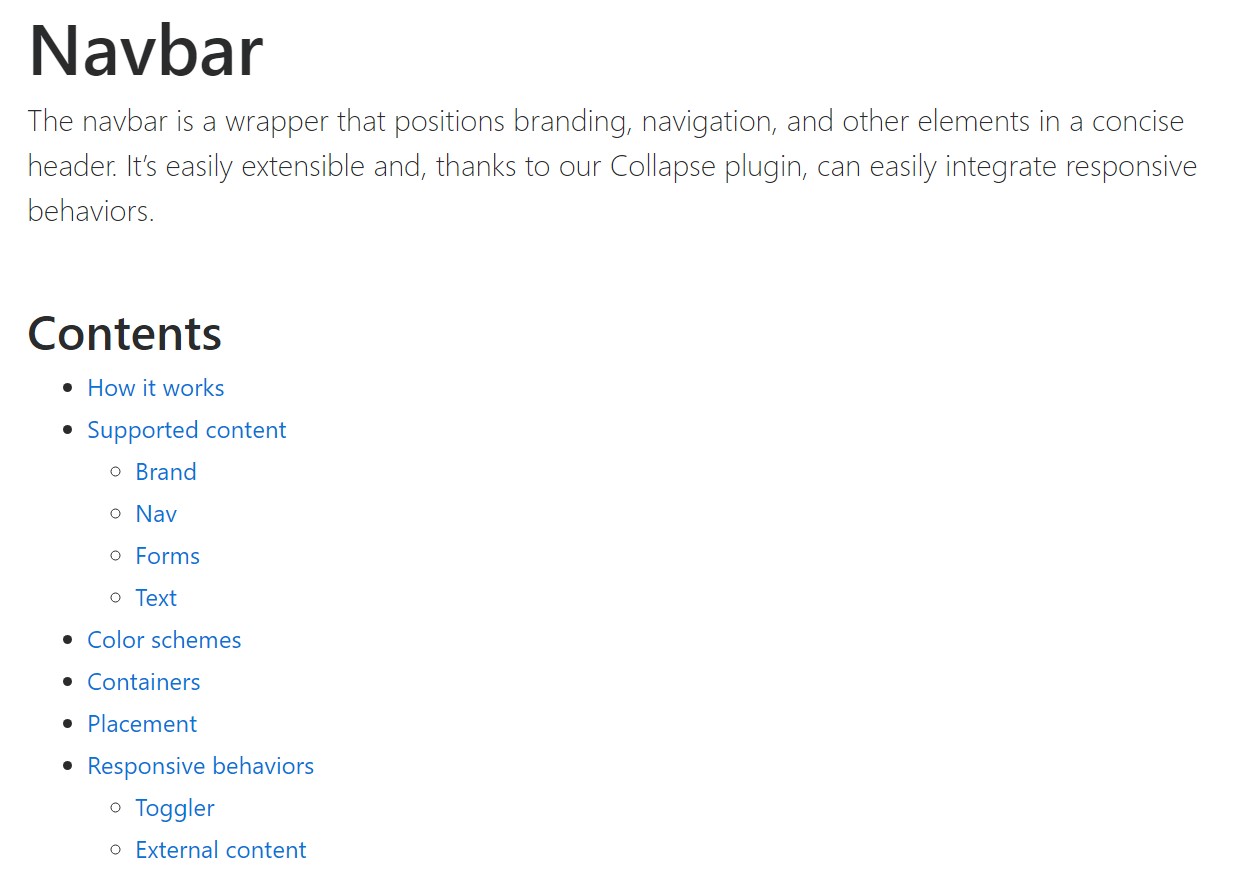
Bootstrap Navbar main information
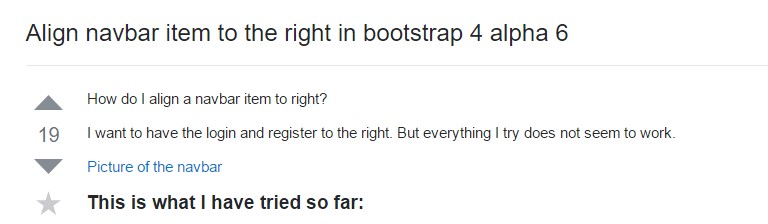
Line up navbar object to the right inside Bootstrap 4 alpha 6
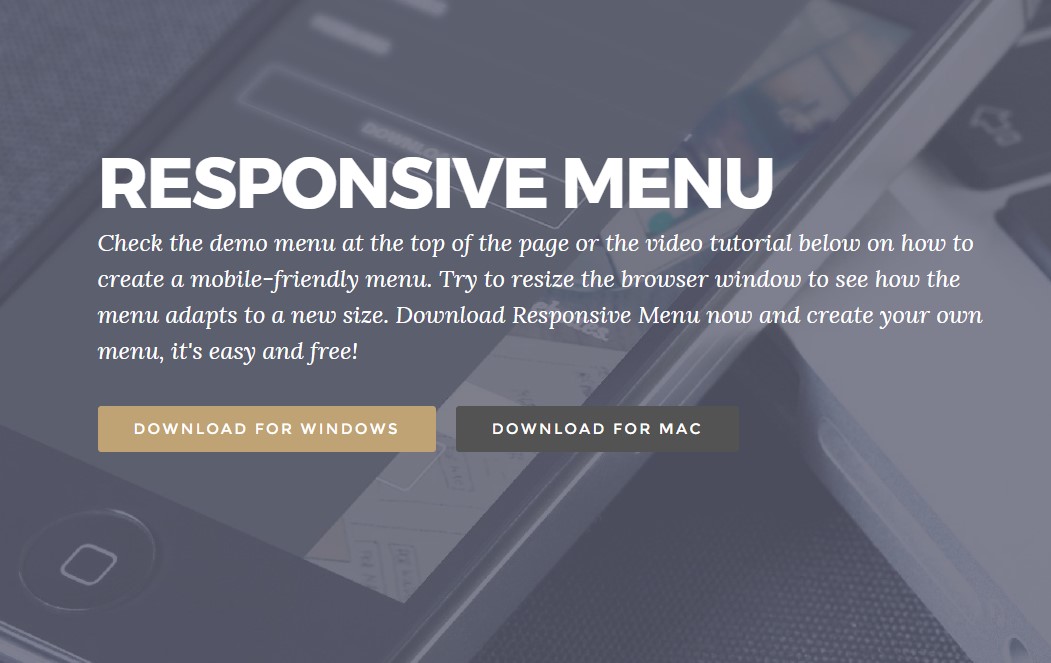
Bootstrap Responsive menu within Mobirise