Bootstrap Radio Button
Intro
Occasionally the small items occur to be certainly the most fundamental due to the fact that the whole entire picture is definitely a whole being composed of several tiny aspects perfected and compiled to view and showcase like a well-oiled bright machine. These kinds of bold phrases might actually sound a little bit too much when it comes down to make commands but in the case that you just think about it for a bit there is definitely just a single feature letting the visitor to grab one among a couple accessible opportunities. And so in case you are actually possessing certain forms by having this type of solutions controls over your various web sites does this suggest they are going to all look similar? And more importantly-- would you choose that?
Happily for us the most recent version of the most well-known mobile friendly system - Bootstrap 4 arrives entirely stuffed with a bright brand-new solution to the responsive behavior of the Bootstrap Radio Button commands and what is bright new for this edition-- the so called custom form regulations-- a palette of predefined visual appeals you are able to simply get and operate in order to provide the so wanted in today times assortment in the visual presentations of more or less boring form elements. In this degree let's check out the way the radio switches are planned to be described and designated in Bootstrap 4. (see page)
How you can work with the Bootstrap radio button:
In order to create a radio tab we primarily need a
<div>.form-check.form-check-inline.radio.radio-inline.disabledInside the
.form-check<label>.form-check-label<input>.form-check-inputtype = “radio”name = “ ~ same name for all the options ~ ”id = “ ~ unique ID ~ “value=” ~some value here ~ ”disabled<input>This is additionally the area to characterize assuming that you want the radio control to primarily load like checked as soon as the web page gets loaded. If this is really what you are actually looking for-- as an alternative to
disabledchecked<input>checkedCheckbox plus Bootstrap Radio Style examples
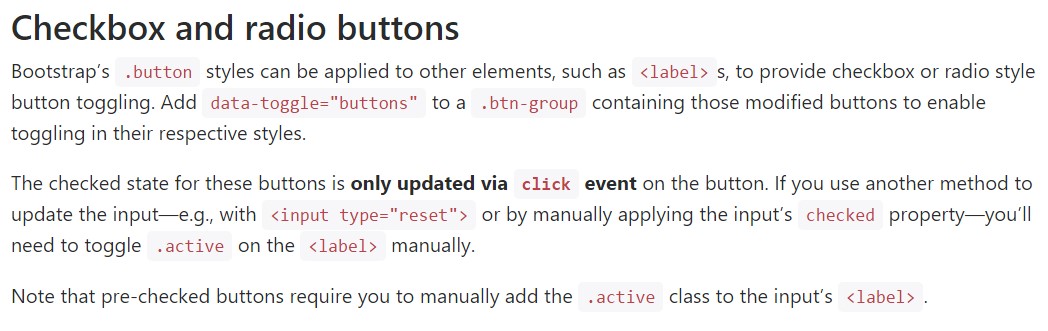
The inspected condition for these buttons is only updated via click event on the button. If you work with some other procedure to update the input-- e.g., with
<input type="reset">.active<label>Take note of that pre-checked buttons demand you to manually bring in the
.active<label>Checkbox

<div class="btn-group" data-toggle="buttons">
  <label class="btn btn-primary active">
    <input type="checkbox" checked autocomplete="off"> Checkbox 1 (pre-checked)
  </label>
  <label class="btn btn-primary">
    <input type="checkbox" autocomplete="off"> Checkbox 2
  </label>
  <label class="btn btn-primary">
    <input type="checkbox" autocomplete="off"> Checkbox 3
  </label>
</div>
Radio

<div class="btn-group" data-toggle="buttons">
  <label class="btn btn-primary active">
    <input type="radio" name="options" id="option1" autocomplete="off" checked> Radio 1 (preselected)
  </label>
  <label class="btn btn-primary">
    <input type="radio" name="options" id="option2" autocomplete="off"> Radio 2
  </label>
  <label class="btn btn-primary">
    <input type="radio" name="options" id="option3" autocomplete="off"> Radio 3
  </label>
</div>
Radio button option
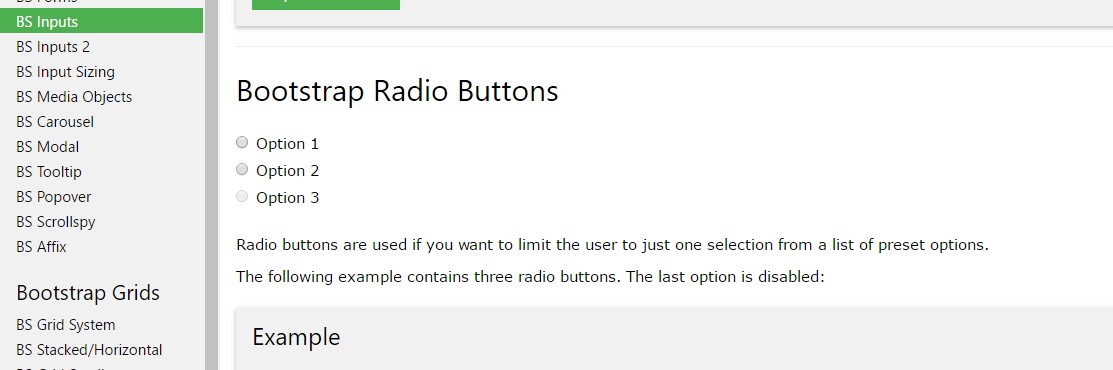
As we like the user to go for just one of a series of options, we can certainly use input components of the radio option. ( more helpful hints)
Anytime there is more than just one particular element of this style through the same value in the name attribute, just one have the ability to be picked.

<div class="row">
  <div class="col-lg-6">
    <div class="input-group">
      <span class="input-group-addon">
        <input type="checkbox" aria-label="Checkbox for following text input">
      </span>
      <input type="text" class="form-control" aria-label="Text input with checkbox">
    </div>
  </div>
  <div class="col-lg-6">
    <div class="input-group">
      <span class="input-group-addon">
        <input type="radio" aria-label="Radio button for following text input">
      </span>
      <input type="text" class="form-control" aria-label="Text input with radio button">
    </div>
  </div>
</div>
Conclusions
Generally this is the way the default radio buttons get determined and do a job along in Bootstrap 4-- in a moment all you need to have are several options for the site visitors to select from.
Take a look at several video training about Bootstrap Radio Button:
Linked topics:
Bootstrap buttons formal information
Bootstrap Radio button - short training
Checkbox radio buttons break entire toolbar styling
